Tags
Here’s another one from last Monday. Blonde hair gives nice highlights. Love her expression.
Looking invincible

25 Wednesday Mar 2015
Posted in photography
Tags
Here’s another one from last Monday. Blonde hair gives nice highlights. Love her expression.
Looking invincible
24 Tuesday Mar 2015
Posted in photography
20 Friday Mar 2015
Posted in photography
Tags
It’s not really Rembrandt lighting but the colors looked so nice, I decided to give it a bit more of a painting look. Hope you like it. 🙂
This one went through some changes from the original, to get a bit of that ‘old painting’ look. It was mostly based on a tutorial on Youtube at www.youtube.com/watch?v=lqiZC9gDNjI
To summarize:
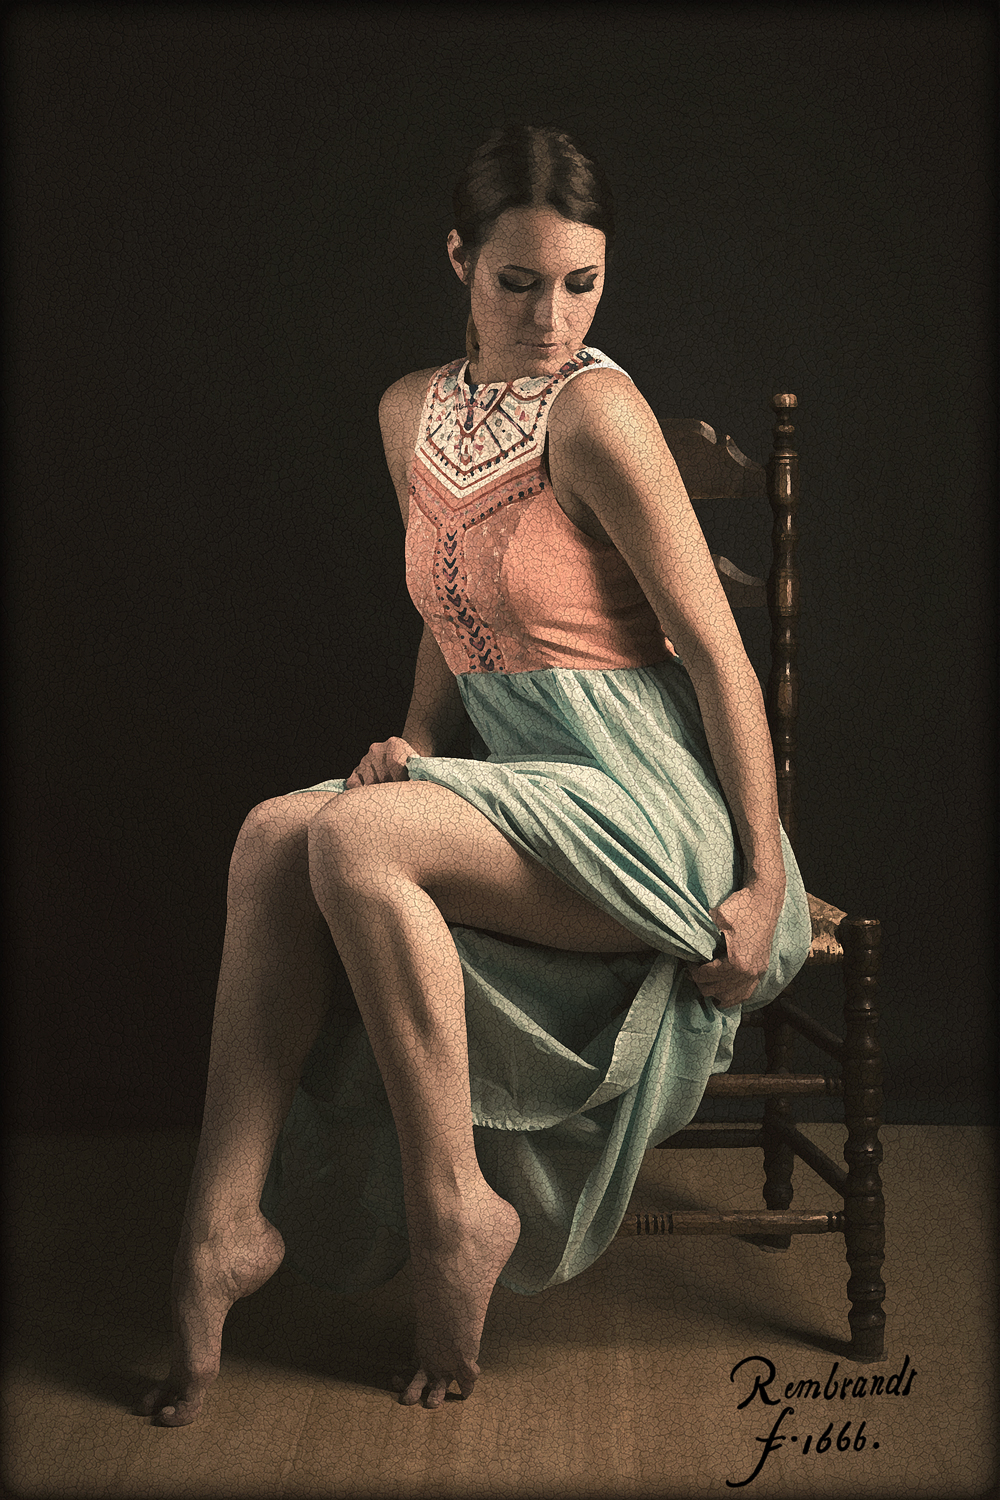
Painting with Photoshop
19 Thursday Mar 2015
Posted in photography
Tags
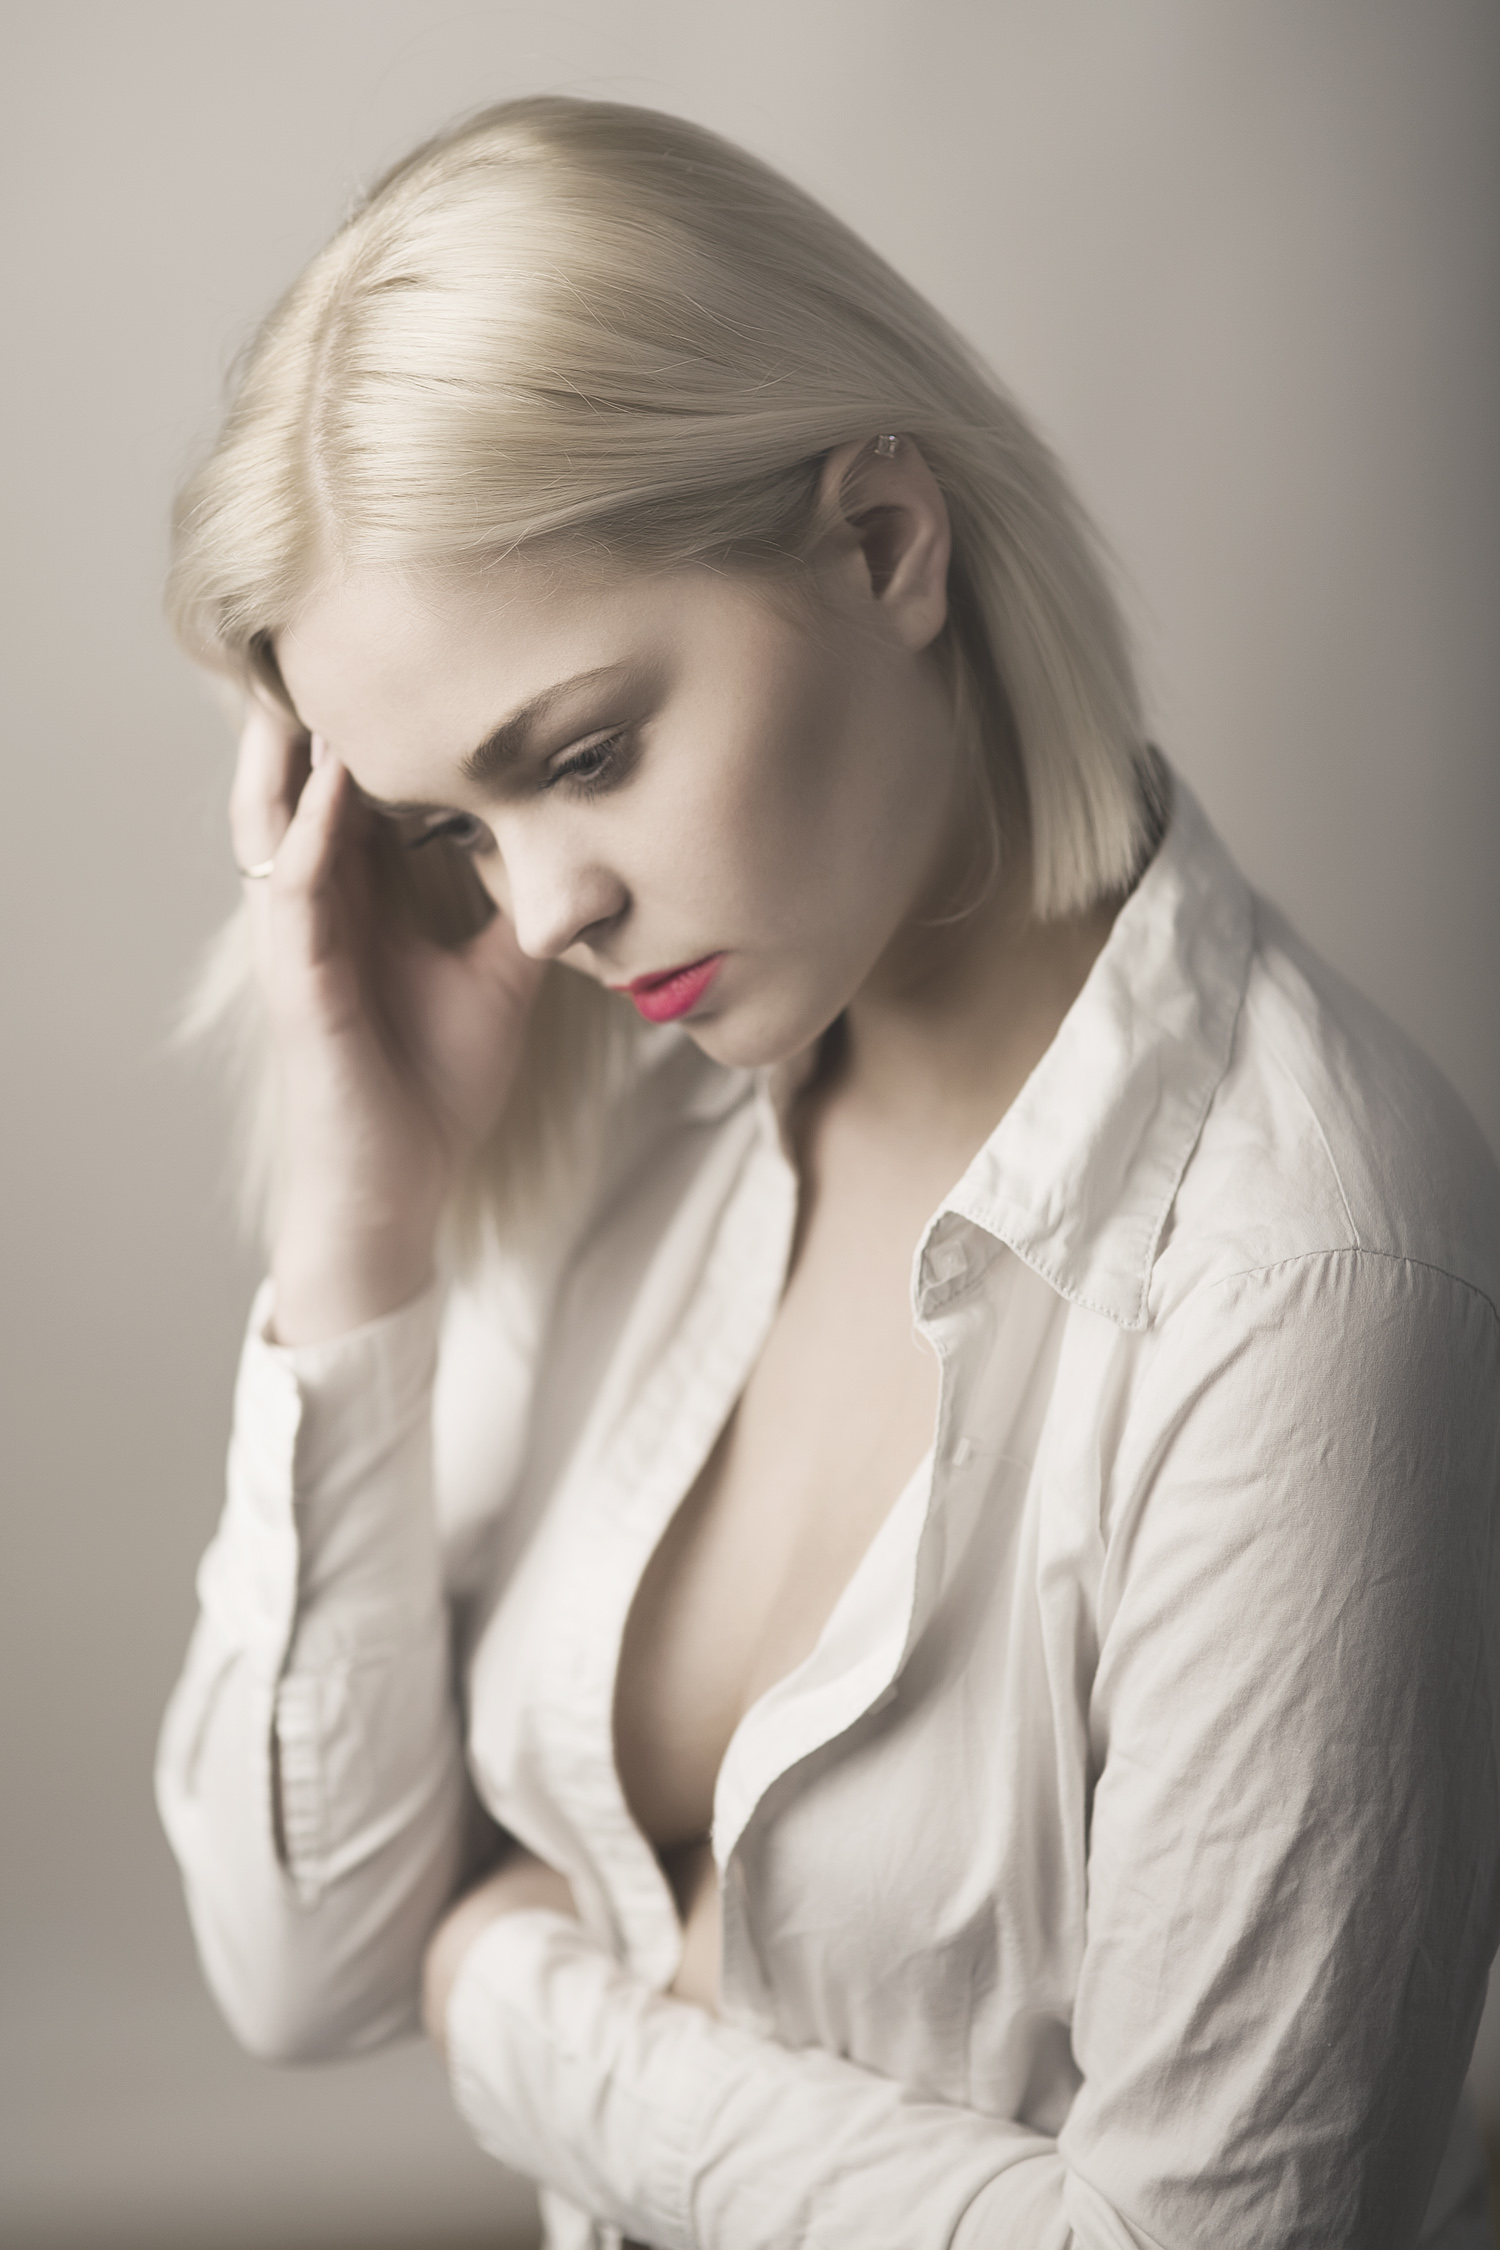
From about two months ago, this is Jessica in one of the first photographs of the shoot.

In a sexy shirt
19 Thursday Mar 2015
Posted in photography
Tags
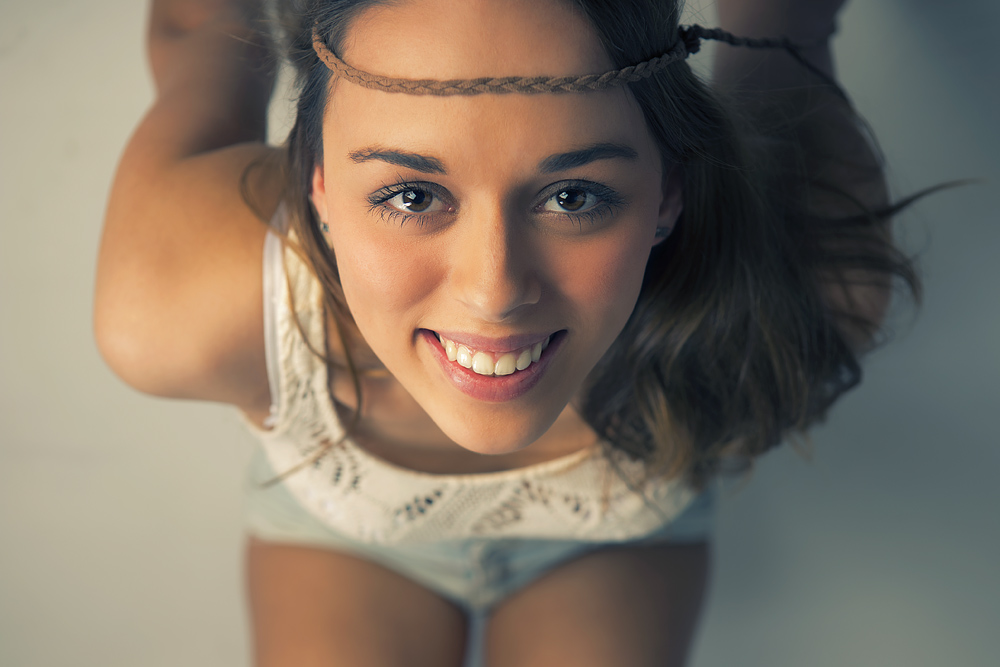
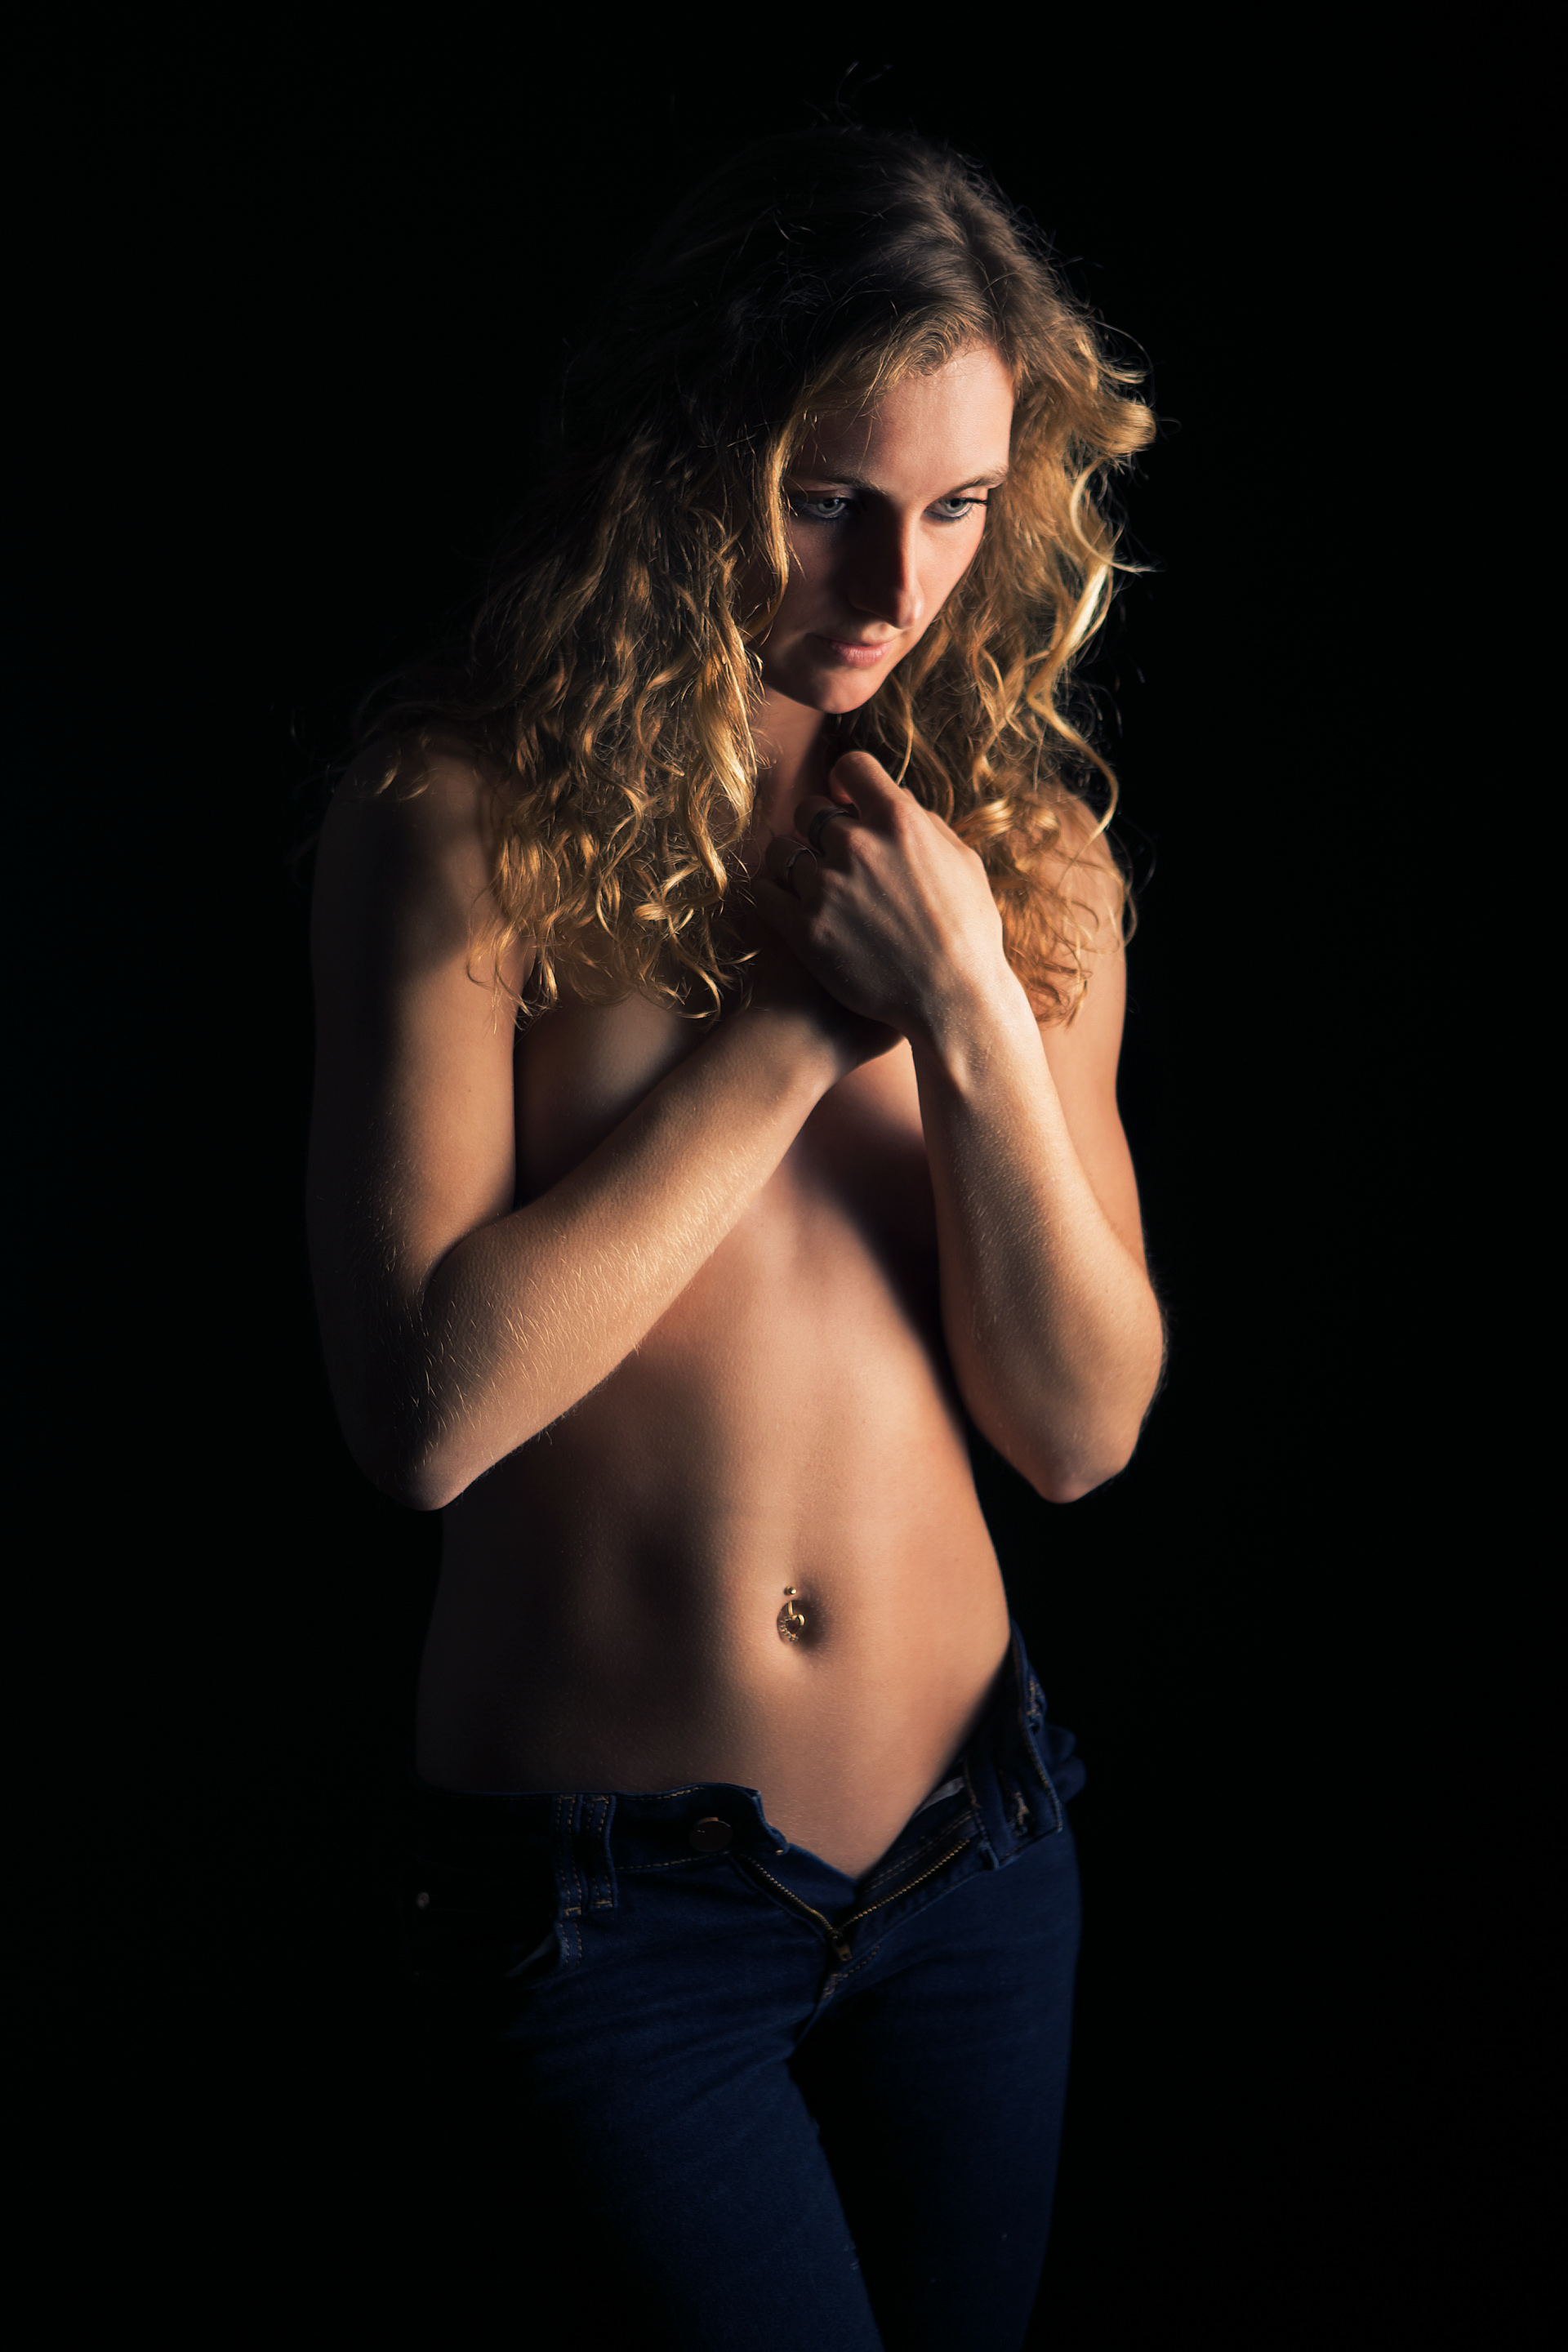
Another one from a month ago; Melanie showing off her beautifully toned belly.

Pulling
17 Tuesday Mar 2015
Posted in photography
Tags
One more from the beautiful Cathelijne, harsh light (but she can take it) against my studio wall.
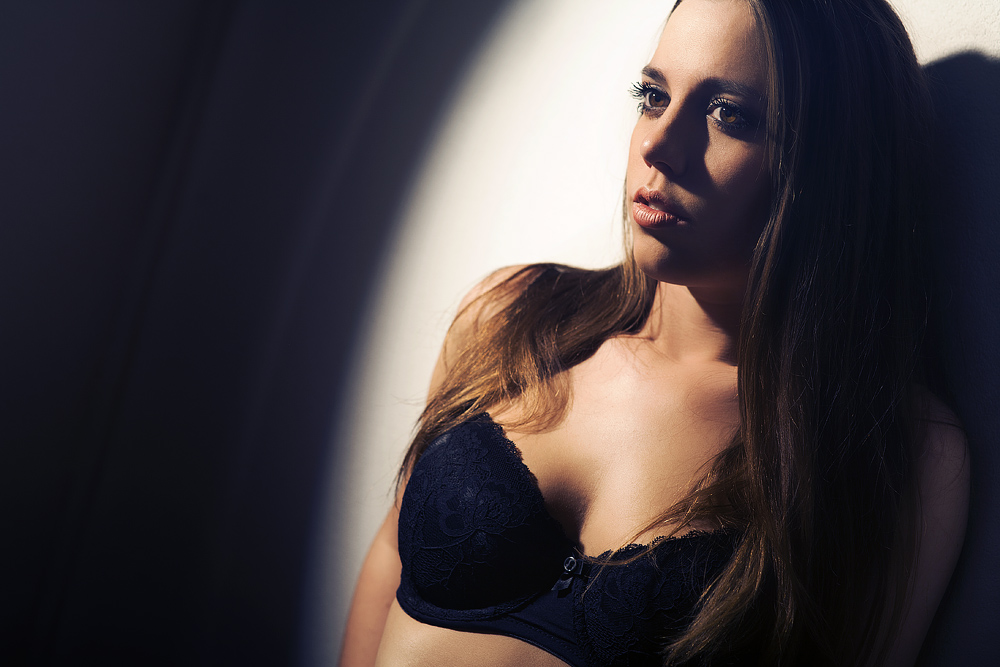
In the spotlight
16 Monday Mar 2015
Posted in photography
Tags
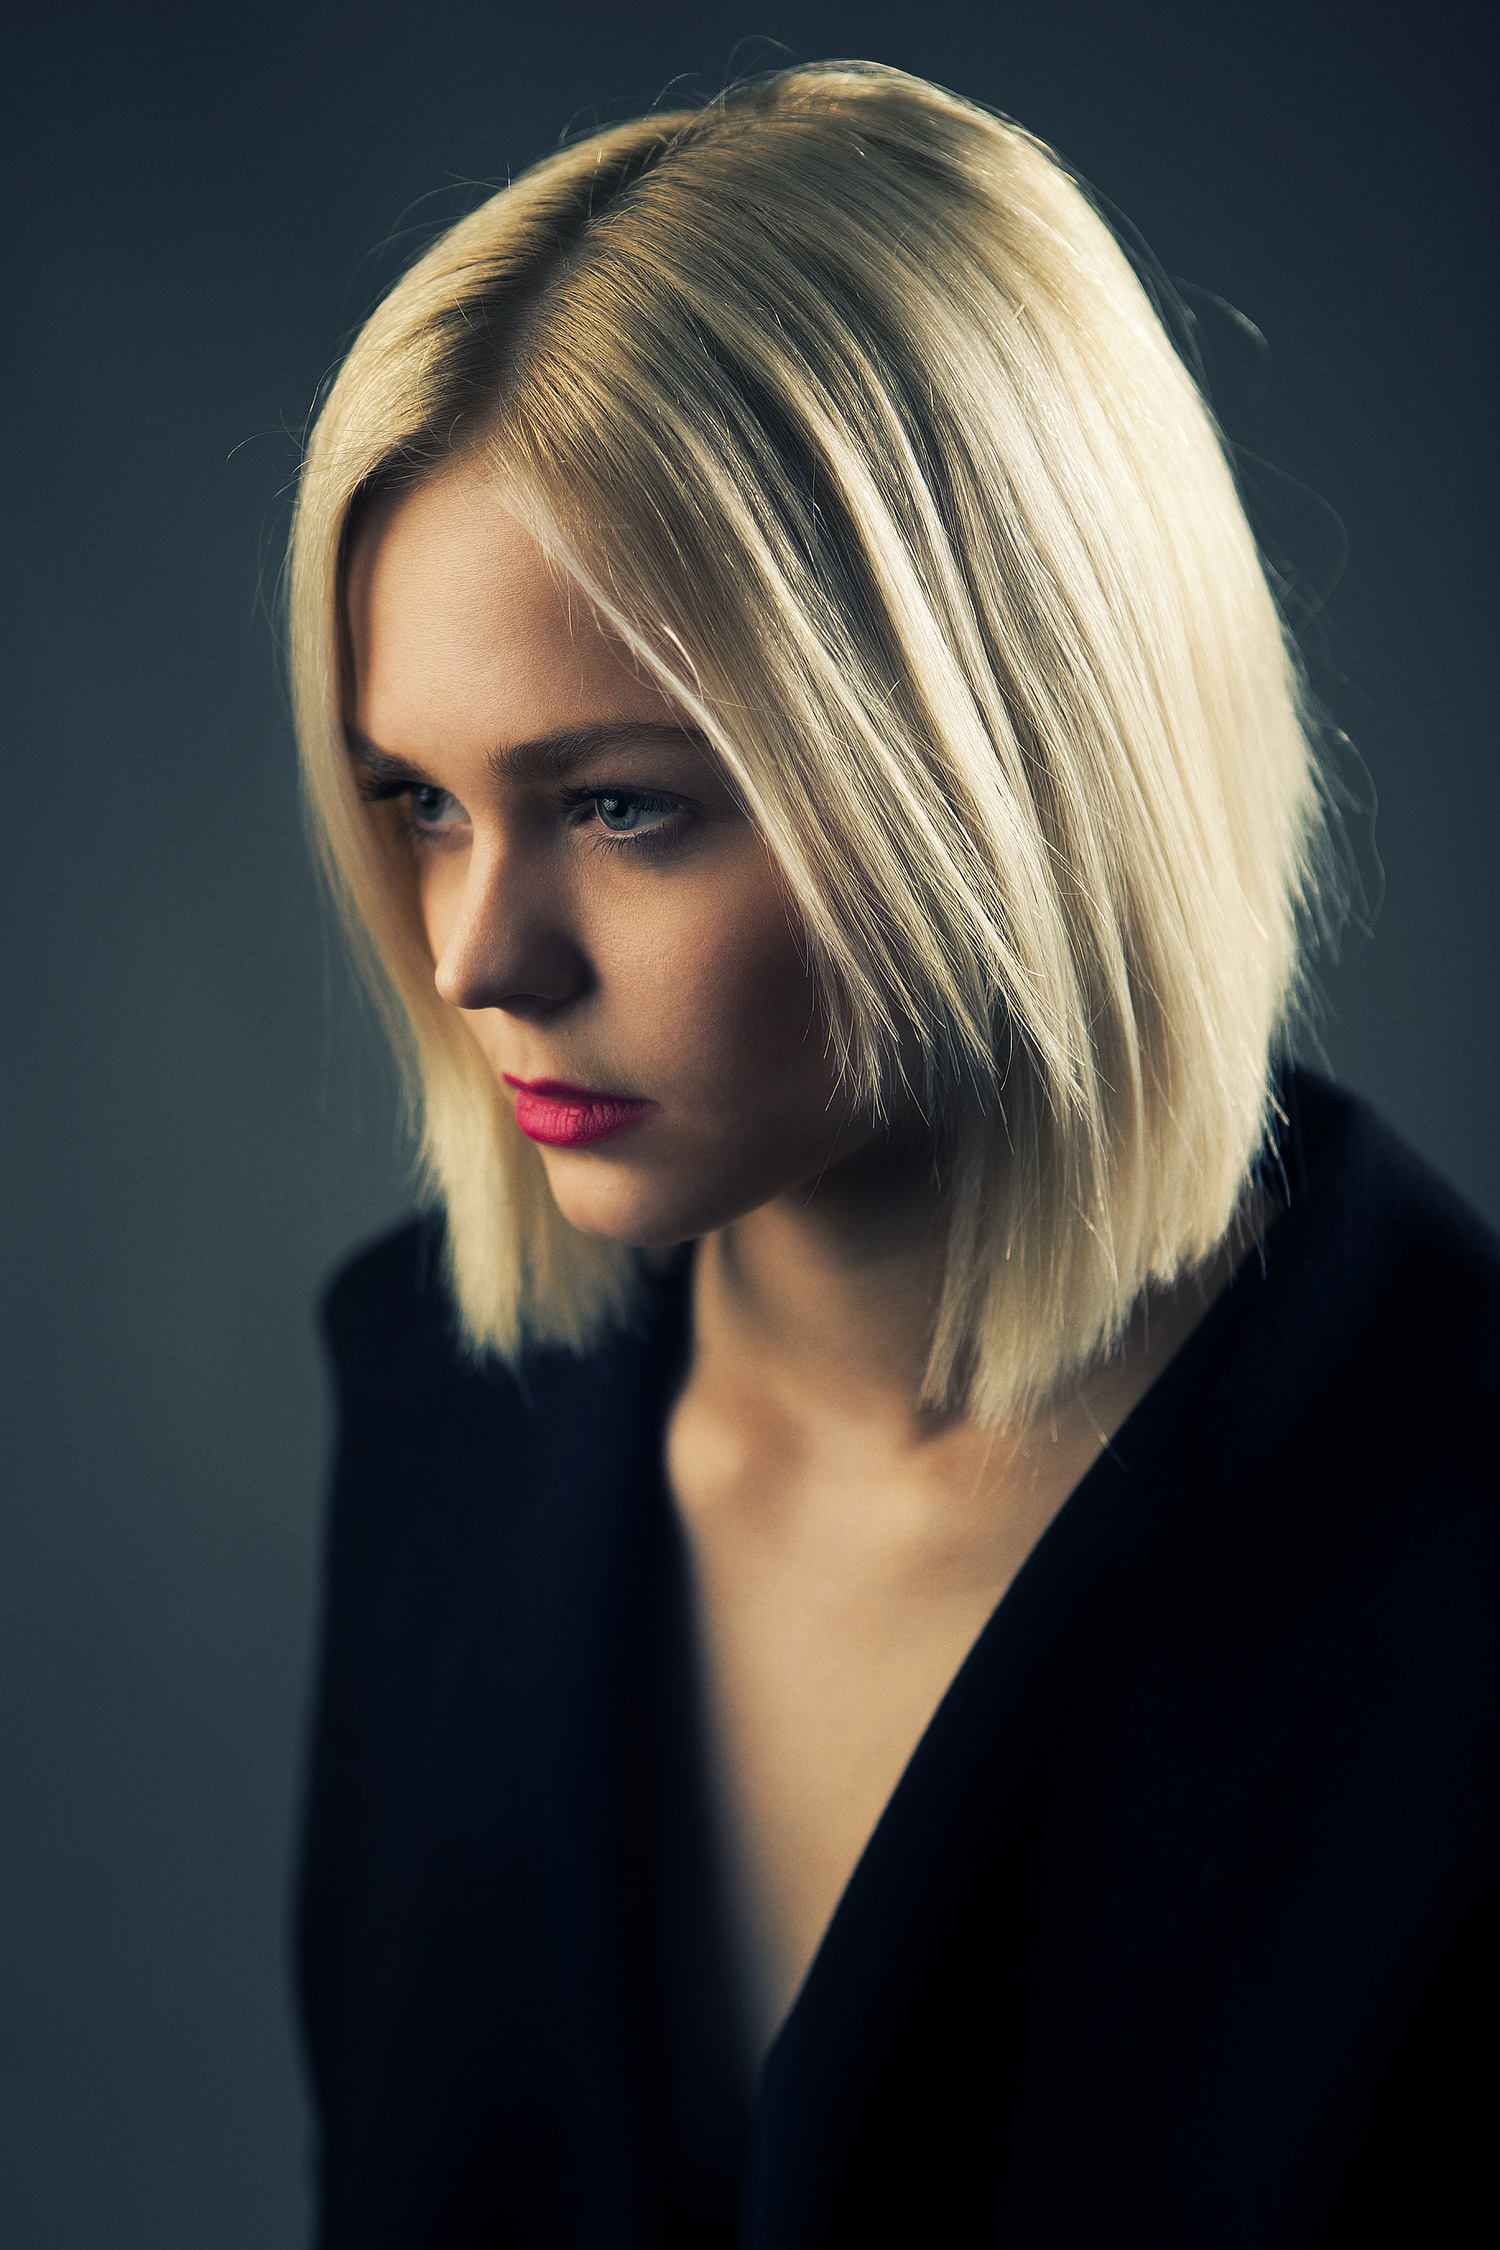
This one was lit using a strip light which was very close to the model. That type of distance always gives a lot of contrast between the close and far sides of the model (compared to putting the light further away). Now my studio isn’t that large so I’m quickly bound to such types of photographs. 😉
Still, combined with the pondering expression of the model it makes this one of my favorites.
Strip light on camera right
15 Sunday Mar 2015
Posted in photography
14 Saturday Mar 2015
Posted in photography
Tags
Another sensual one from Cathelijne and Taco, in harsh light. I like the strong looks and sensuous feeling. Hope you like it!

Hard gobo light
13 Friday Mar 2015
Posted in photography
Tags
Here is another one from Cathelijne by herself, in a sexy white dress with red lips. Beautiful bones.

The white dress